Learning Livi isn't hard - but it can take a few tries. Here’s what most customers experience:
1st Manicure
Takes: 30-45 minutes.
Looks: A little imperfect.
Lasts: 4-7 days.
It's new. Take your time.
You'll get better fast.
2nd Manicure
Takes: 20-30 minutes.
Looks: Pretty good!
Lasts: 7-10 days.
Your confidence kicks in.
Fewer mistakes, smoother results.
3rd Manicure & Beyond
Takes: 10-20 minutes.
Looks: Flawless.
Lasts: 10+ days.
You know your sizes, you got your rhythm.
No appointment required.

How to apply | The 30 second version
We highly recommend you watch the full step-by-step guide below. But for a quick and dirty how to, co-founder Pauline's got you in 30 seconds.
Step-by-step
Follow these 6 steps to nail your mani

Step 1: Prep
Prep your nails by shaping them with the file and push back your cuticles with your cuticle stick. Clean your nails with the prep pad (included).

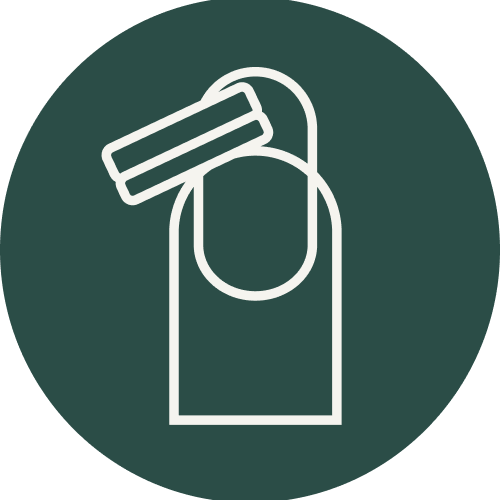
Step 2: Pick
Hold the sheet of gels above your nail and pick the gel that’s slightly smaller than the width of your nail. Peel the protective film off of the chosen gel.
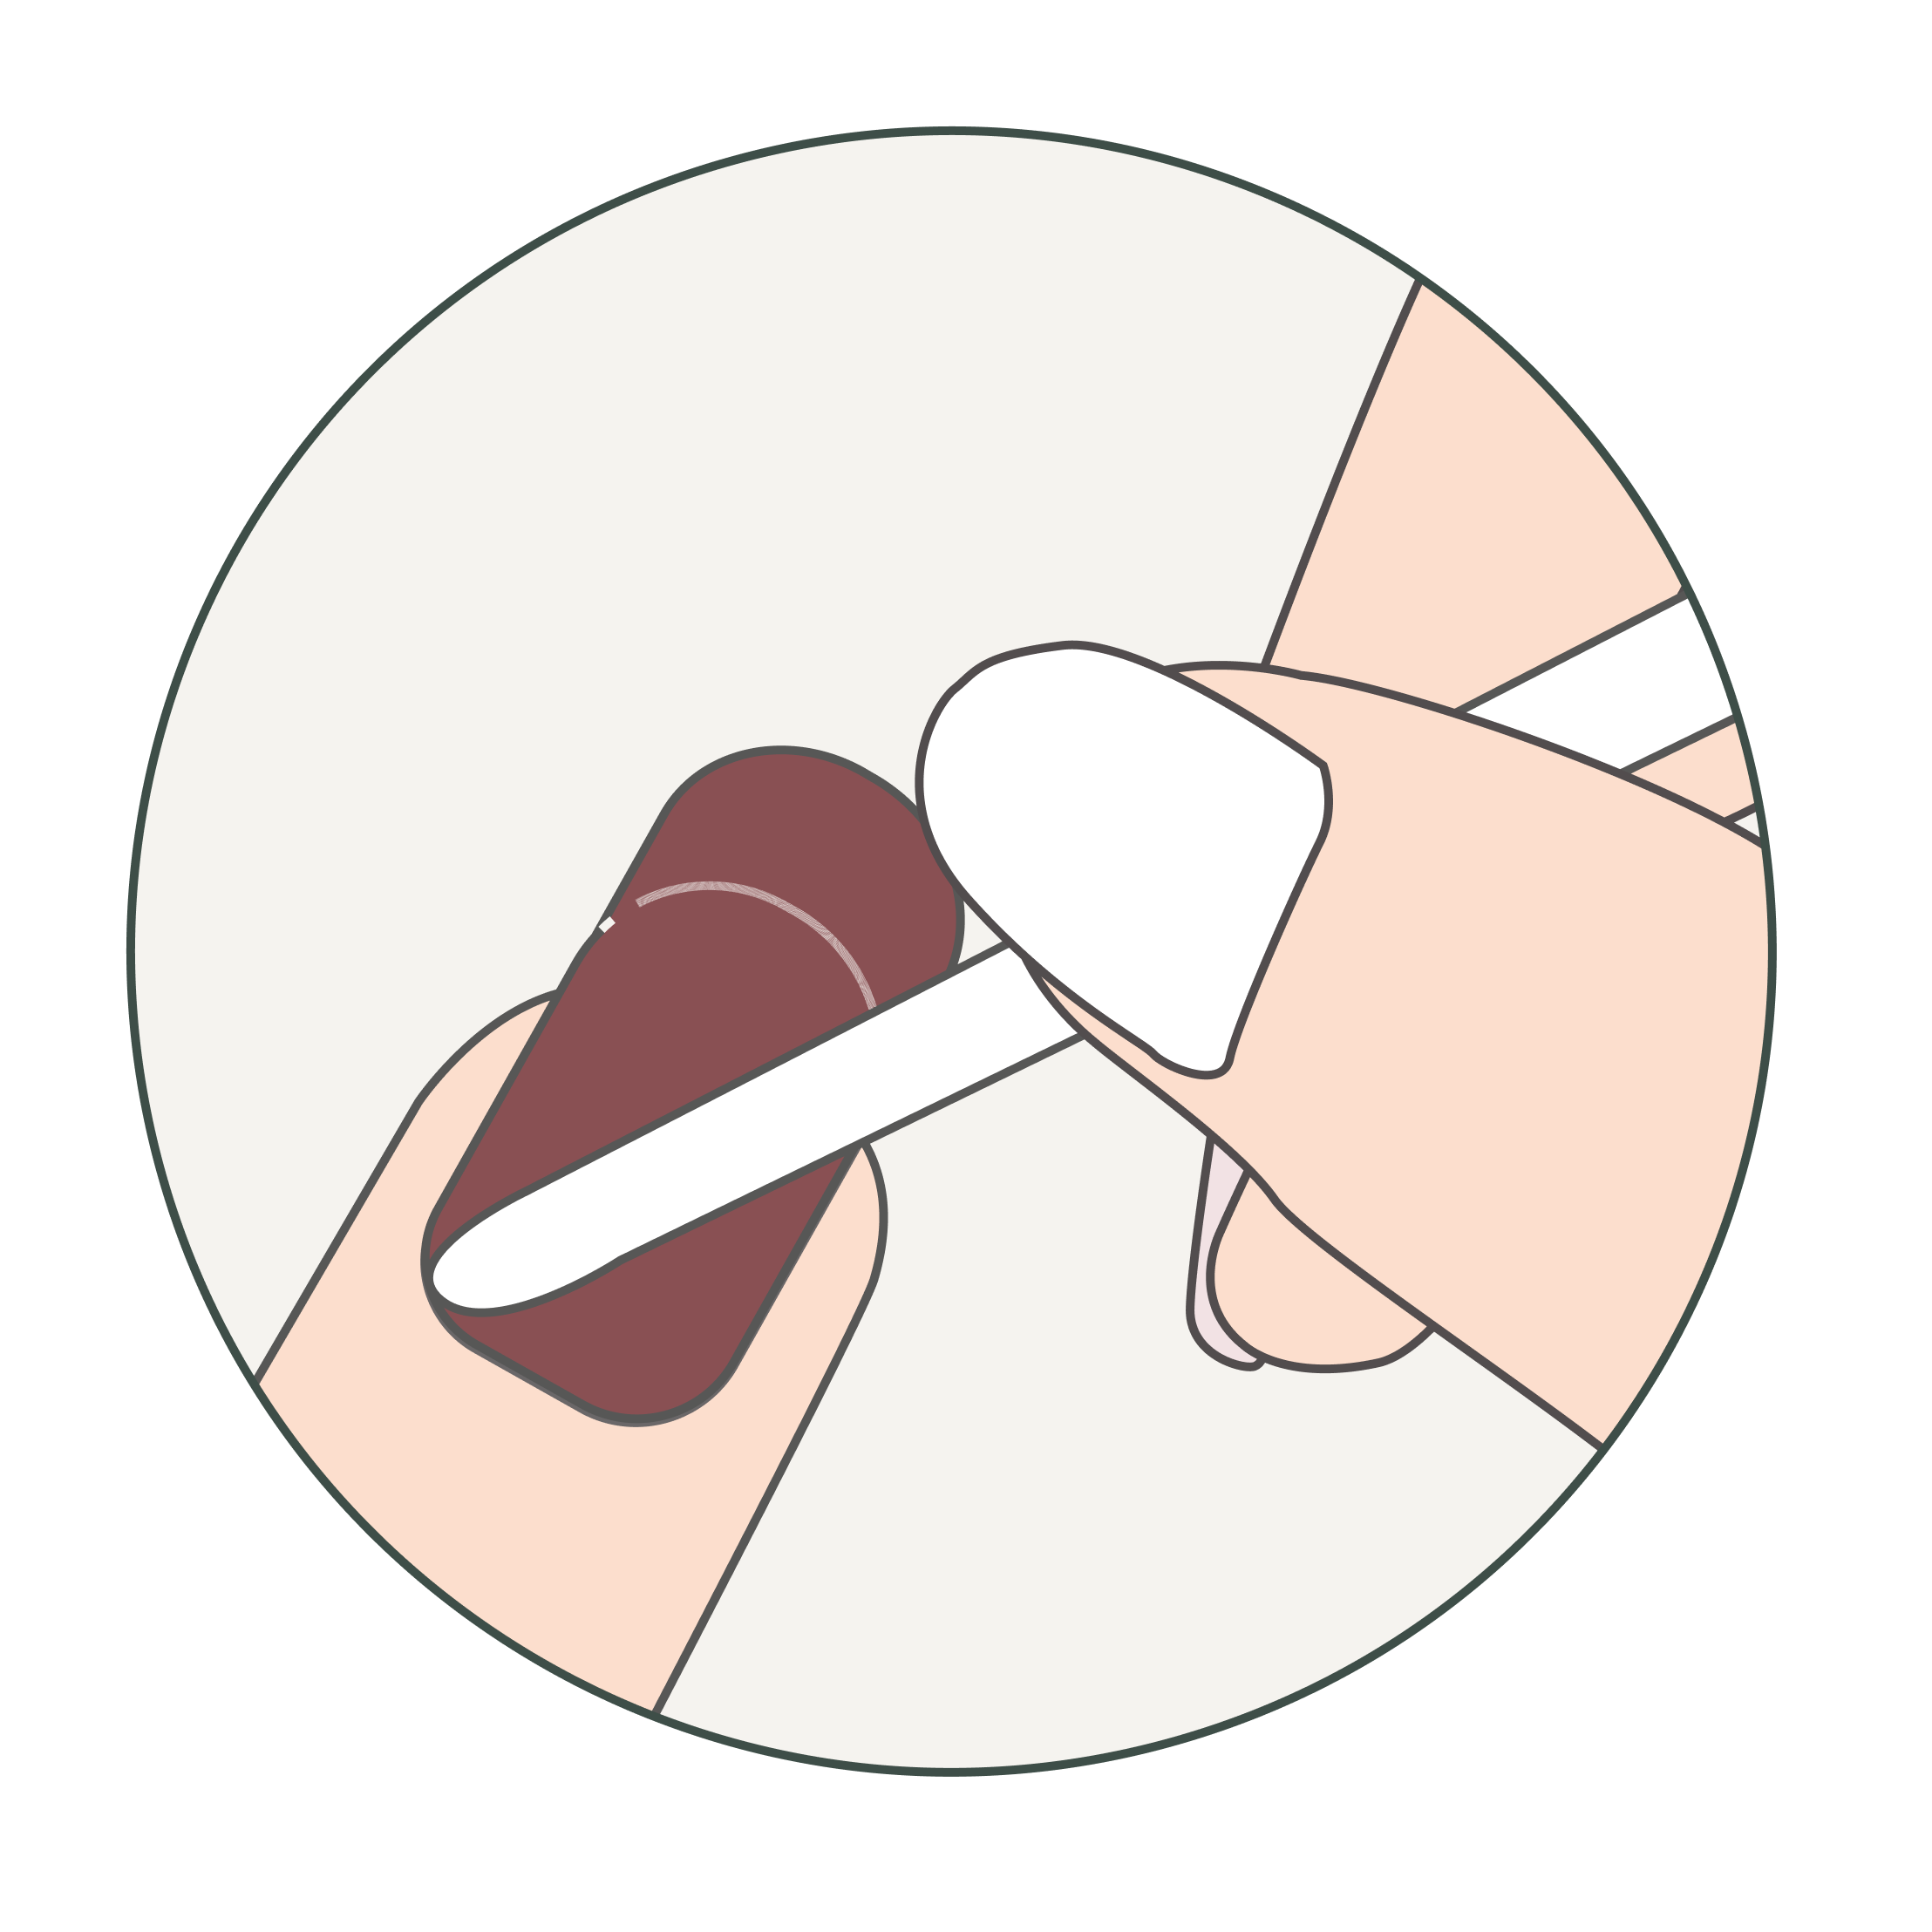
Step 3: Press
Press the gel firmly to your nail, leaving a space between the gel and your cuticle. Use the cuticle stick to press down on all sides of the gel firmly.
Step 4: Precut
Use the scissors (or clippers, if you prefer) to cut down the excess gel along the shape of your nail.
Step 5: Protect
Protect your manicure by curing your nails (including your thumb) under the LED light for 60 seconds (twice).

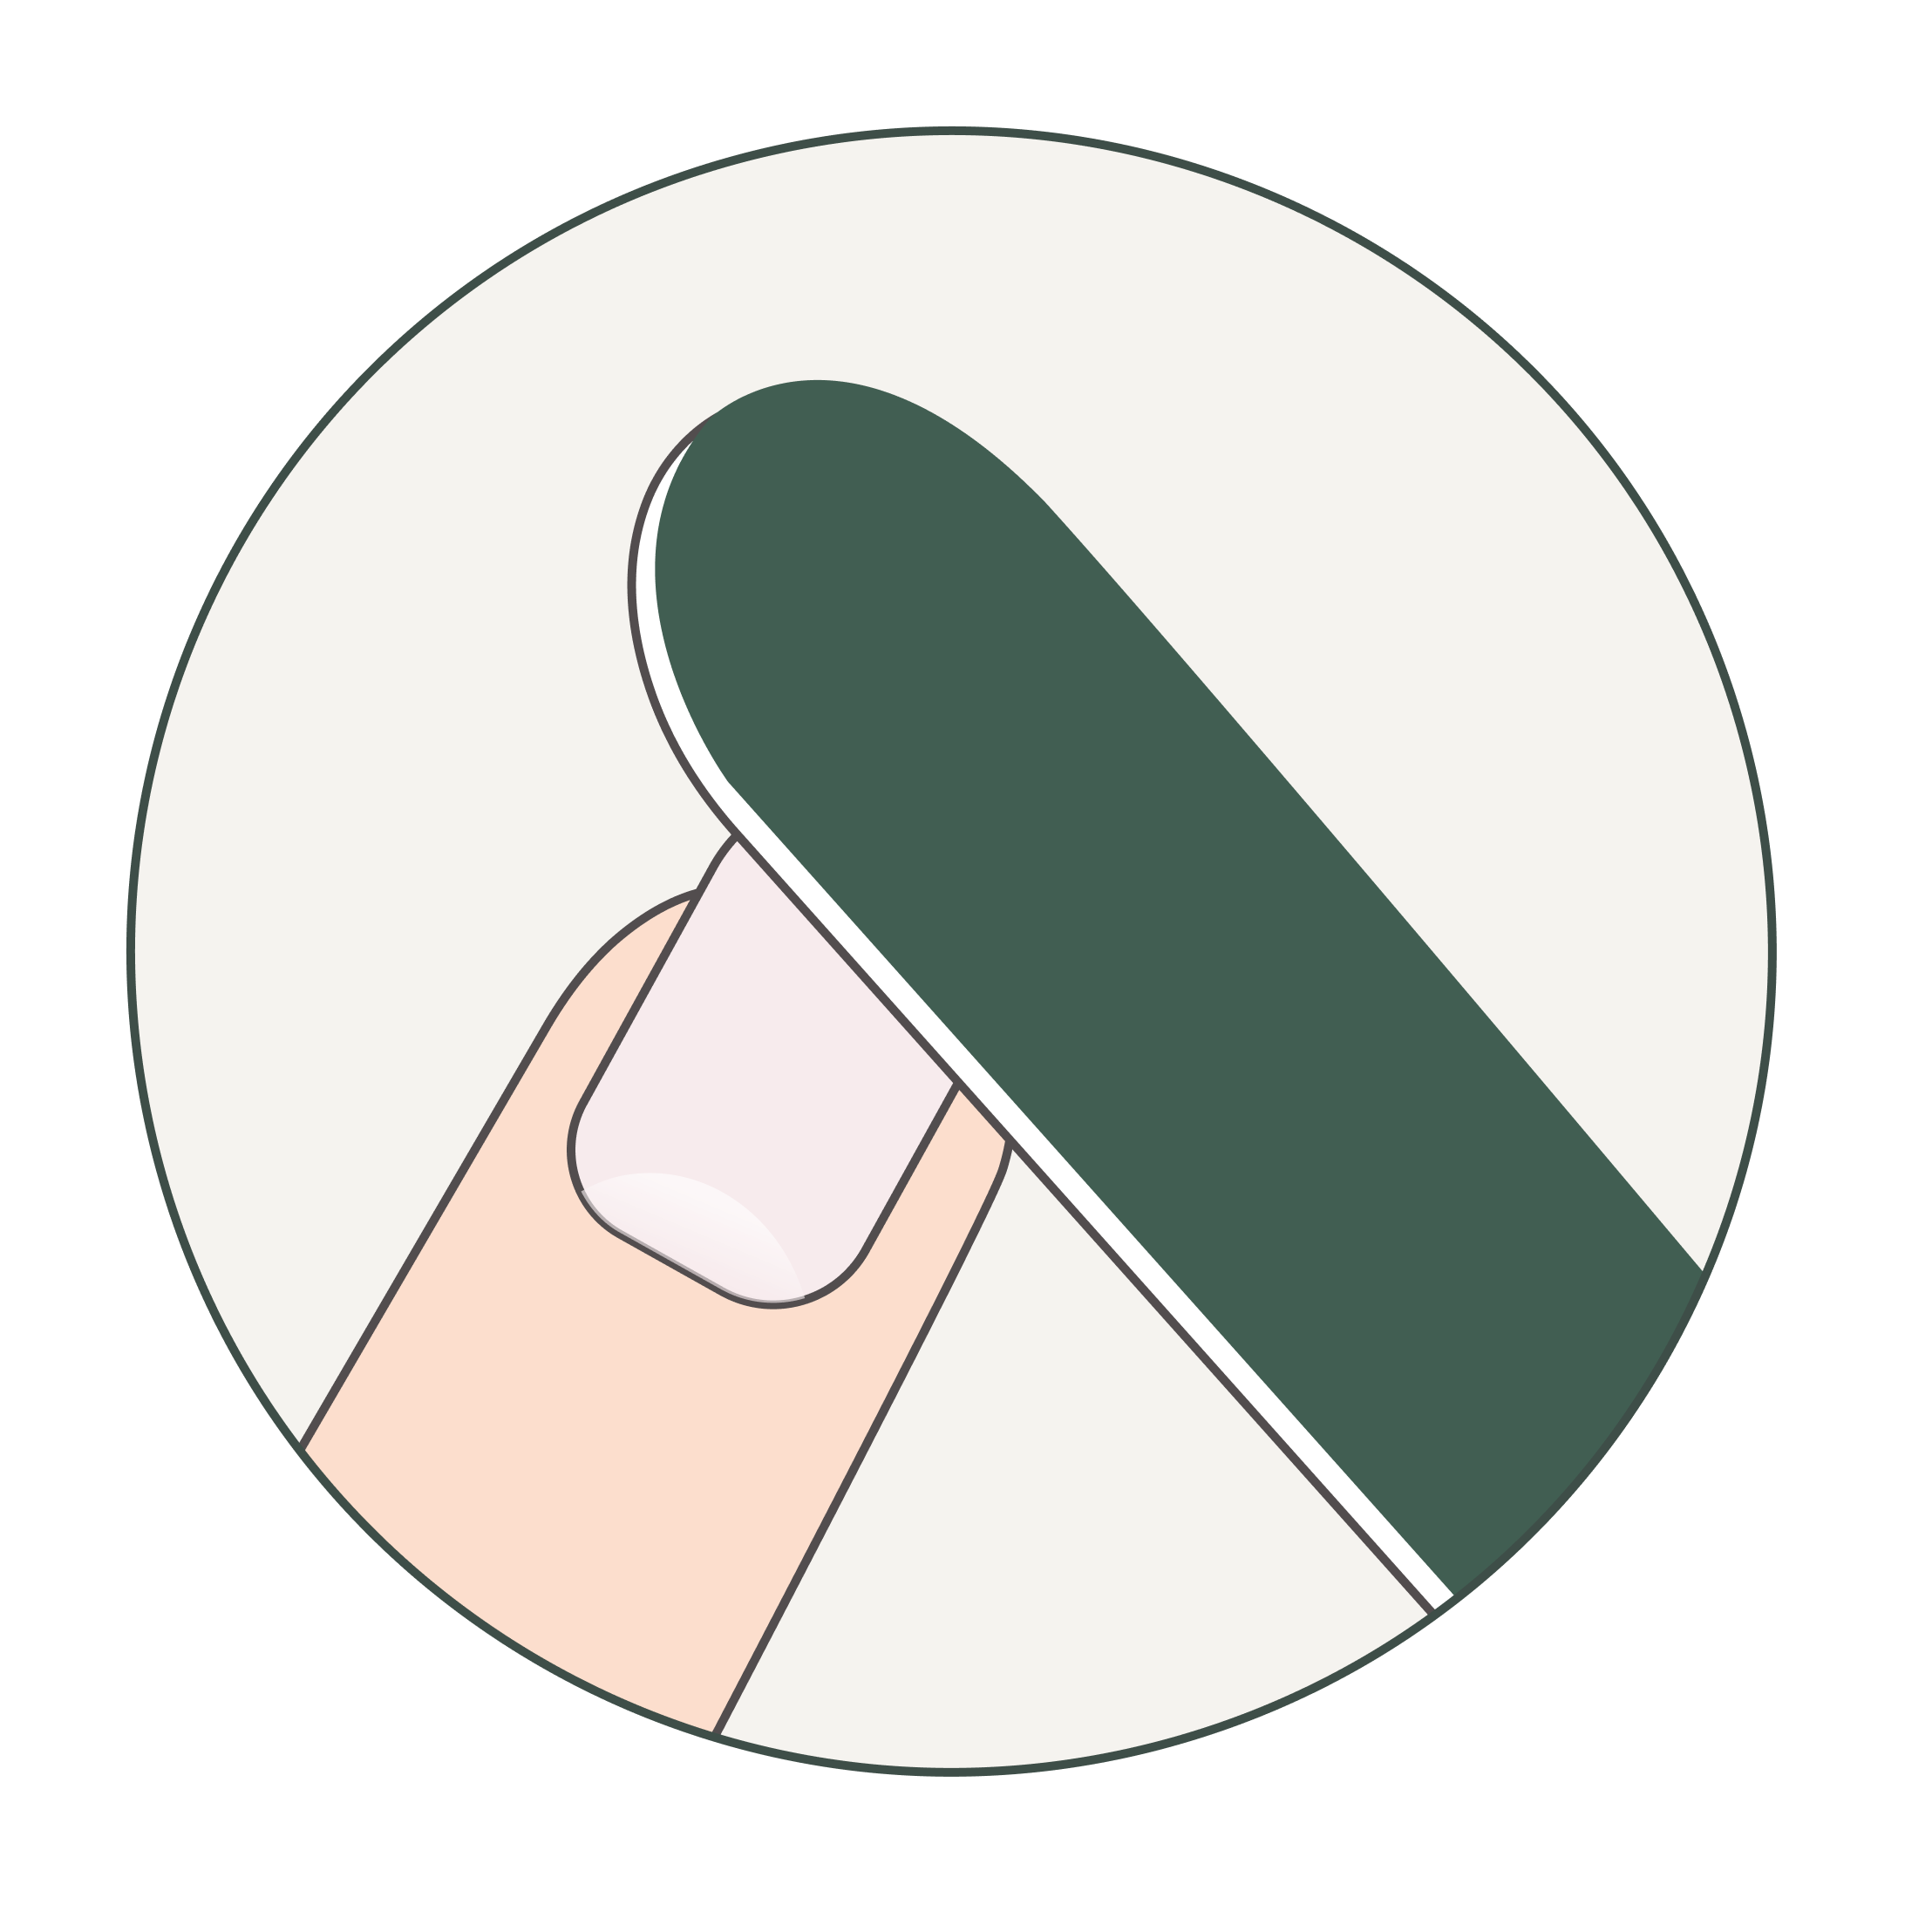
Step 6: Perfect
Smooth the edges of your nails by filing (pro tip: filing in one direction help keeps it even and make sure you're lightly filing!)
Tips & tricks
Avoid lotions before and right after
Avoid water, lotions, and any oils before and after application. Make sure to prep your nails thoroughly (or use our nail dehydrator) before applying the gel manicure stickers.
Pick the right sticker
In between sizes of the gel? Pick the smaller size for that finger and gently pull on the sides to enlarge the sticker a bit.
Buffing can help
Especially as your nails get healthier with using Livi, it can help to buff (lightly file the top of your nail) to roughen it up. Smoother nails can be harder to hold on to the stickers!
Get close to cuticle
One of the best ways to lock in your manicure is to get as close to your cuticles as possible—without touching them. The closer the gel is to the base of your nail, the longer it takes for grow-out to show.
Pro Tip: For ultimate longevity, try gently tucking the gel slightly under your cuticle before curing. It helps prevent lifting and keeps your mani looking fresh for days. Need a visual? Check out this video for a quick tutorial!
Seal it with a top coat
Either directly after or a few days after applying your gel, swipe on a (thin layer of) top coat to seal the edges and add a fresh layer of shine. This simple step protects against daily wear and tear while keeping your manicure looking salon-perfect.
Keep the spares
Don’t toss that extra gel! Each Livi kit comes with enough gels for a complete manicure plus a few spares. Safe keep those spares in the black plastic bag to store them away from light. If you notice a chip or blemish, you can swap out a single nail instead of redoing your entire manicure. Quick, easy, and no one will know the difference.
Gloves are your best friend
Hot water and soap are the enemies of a long-lasting mani. When doing dishes or heavy cleaning, wear gloves to protect your nails from moisture and harsh chemicals. Your mani will thank you—and so will your skin.
Nothing is perfect on the first try!
Don't sweat it if your first didn't go well! It can take 2-3 times to really get the hang of things. But once you do, trust us, you will be SO glad to do that mani in 15 mins, from your home, for $20 or less.
With these simple hacks, you can extend the life of your at-home gel manicure and keep your nails looking flawless for even longer. Because the only thing better than a perfect mani? One that lasts.
Ready to refresh your nails? Check out our latest shades and get glowing!
What affects longevity
Nail prep
A clean, dry nail makes all the difference. Taking a few extra minutes to prep properly helps your set grip better and last longer. Buffing can also go a long way!

Placement
Avoiding the skin and cuticles is key: the sticker won't bond to your skin, making it more prone to fall off.
Pressure
Pressure creates a stronger bond. Before you cure, make sure to really press down on the sticker, especially the edges.
Water exposure
Excess water can weaken adhesion, especially in the first few hours. Giving your nails time to fully set helps lock in longer wear. Leave the dishes for tomorrow, or wear gloves ;-)
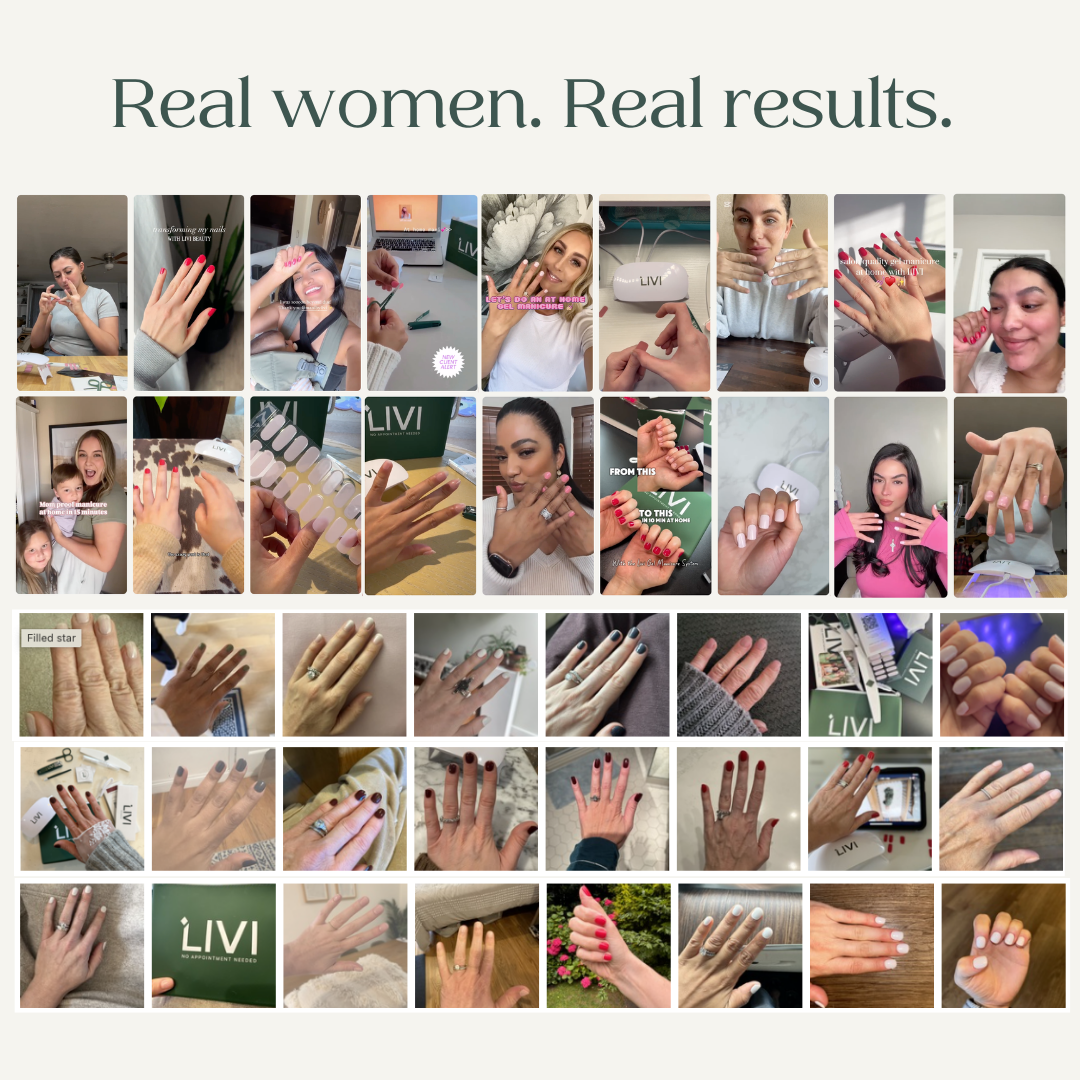
Real women, real results